
Detailed Guide for Installing Separate Door Handles
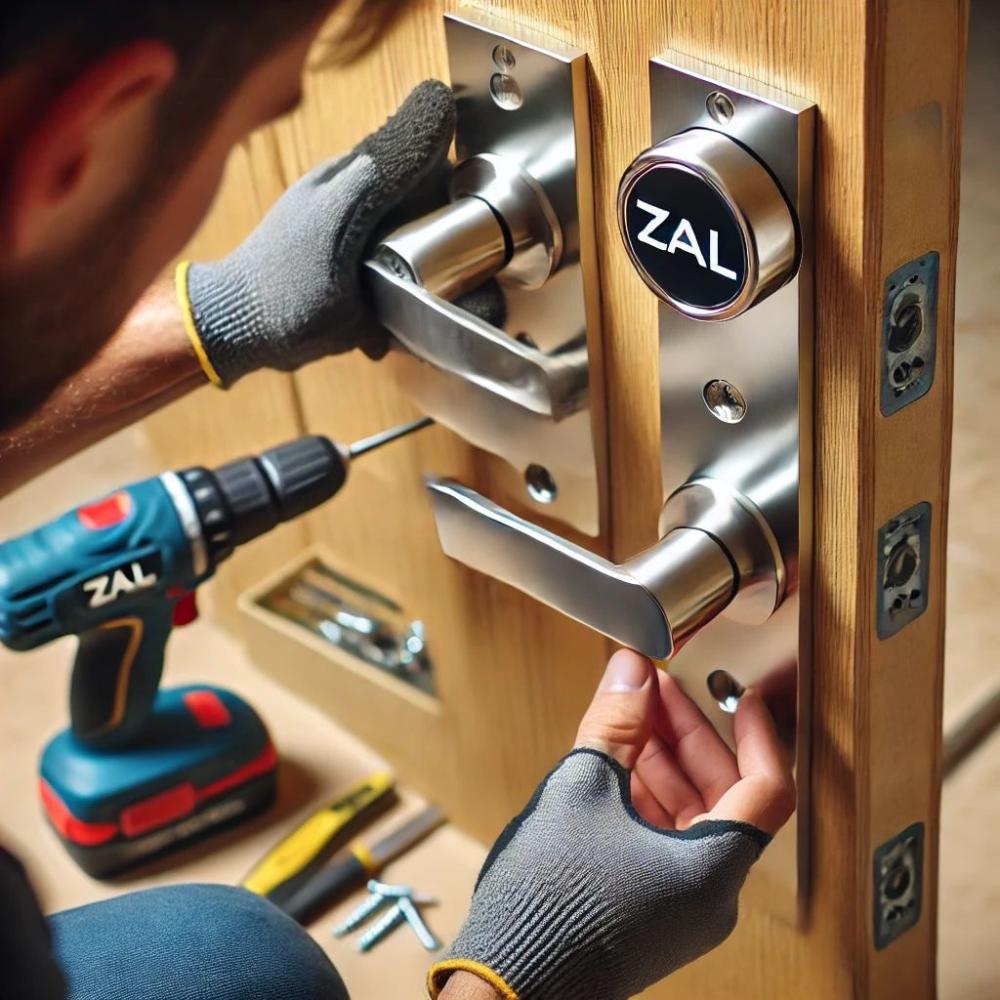
Installing door handles that come in separate pieces requires some basic tools and careful steps to ensure proper alignment and durability. Follow the steps below for a successful installation:
Required Tools:
1. Screwdriver (Phillips or flat-head, depending on the screws).
2. Electric drill (if necessary).
3. Mounting screws (usually provided with the handle).
4. Ruler or measuring tape.
5. Pencil or marker to mark screw placements.
6. Drill bit suitable for the screw size (if there are no pre-drilled holes).
7. Grease or light oil for lubrication (optional).
Installation Steps:
1. Marking the Screw Locations:
• Position the exterior handle piece on the door where it will be installed. If the door is new or does not have pre-drilled holes, align it correctly.
• Use a ruler or measuring tape to ensure that the handle is straight and at the proper height.
• Mark the locations of the screw holes and the center hole for the lock (if applicable) with a pencil.
2. Drilling Holes (if necessary):
• If no pre-drilled holes exist, carefully use the drill to create holes at the marked spots.
• Make sure to choose a drill bit size that matches the screws provided with the handle.
3. Installing the Exterior Handle:
• Attach the exterior part of the handle first by aligning it with the drilled holes or pre-existing holes on the door.
• Insert the screws and tighten them gradually, ensuring the handle is level and firmly secured.
4. Installing the Interior Handle:
• Once the exterior handle is in place, install the interior handle on the opposite side of the door.
• If the handle set includes a central spindle or a locking mechanism, make sure the spindle passes through the door to connect both handles.
• Tighten the screws to secure the interior handle.
5. Adjusting the Handle and Lock Mechanism:
• After installation, check that the handle moves smoothly and the lock operates correctly.
• If the handle feels stiff or does not turn easily, you can apply a small amount of grease or light oil to the moving parts for smoother operation.
6. Installing Decorative Covers (if included):
• Some handle sets include decorative covers to hide the mounting screws. Attach these covers after both handles are securely installed.
7. Final Check:
• After completing the installation, test the door by opening and closing it to ensure the handle works smoothly and that the lock functions correctly.
• Adjust any screws if needed to ensure the handle is tight and stable.
Additional Tips:
• Ensure all screws are tightened securely to keep the handle in place for long-term use.
• If you’re drilling into a wooden door, use the drill carefully to avoid damaging or cracking the wood.
• For heavy doors, it might help to have a second person hold the handle in place while you secure it.
By following these steps, you can successfully install separate door handles, ensuring they function properly and look great.